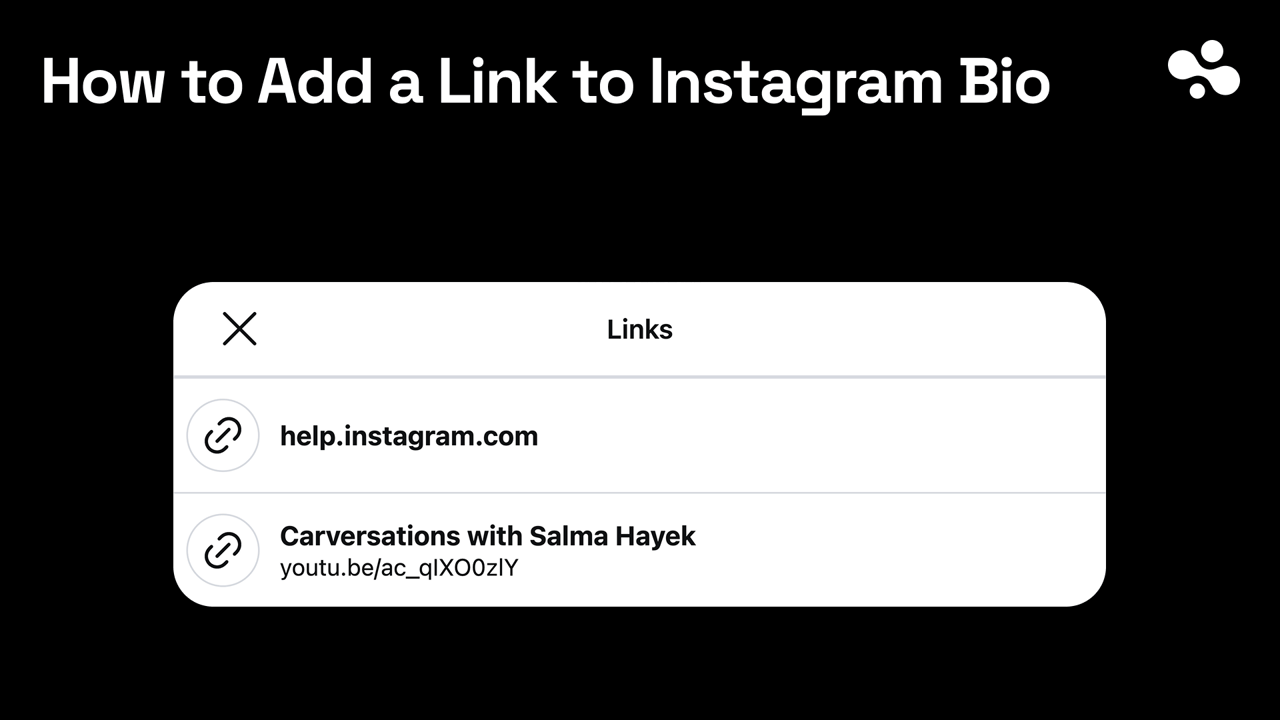
To add a link to your Instagram bio, open the Instagram app, go to your profile, tap Edit profile, tap Links, tap Add external link, paste the URL, give it a short title and tap ✓. The link sits under your bio and anyone can tap it. You can add up to 5 links this way, on any account, and only from the phone app.
Checked October 2026 against Meta's help center: every account can add up to 5 websites under Edit profile → Links, and Meta says the feature "isn't available on computers". A URL typed into the bio text or into a caption stays plain text. The paid exception: since September 2026, eligible public accounts on Meta One Advanced ($49.99 a month) can attach links to up to 4 posts and 4 reels a month, more on the higher plans.
Add a link to your Instagram bio, step by step
- In the Instagram app, tap your profile picture in the bottom right.
- Tap Edit profile.
- Tap Links.
- Tap Add external link.
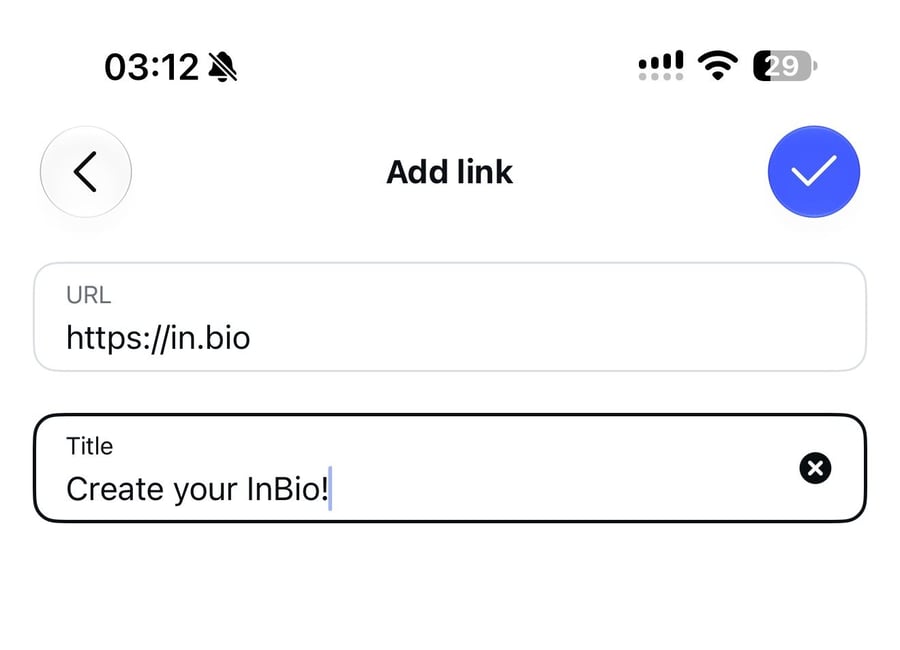
- Paste the full URL, including https://, and type a Title. The title is the label visitors see, so "Book a session" beats a raw domain.
- Tap ✓ (Meta's help page calls it Done), then go back to your profile.
The link appears under your bio straight away; there's no approval step. To delete one later, tap it in the Links screen and tap Remove link.
On a computer, you can't. Meta's help page for this feature says it "isn't available on computers", so instagram.com won't add or edit these links. Add them from the app; once saved, Meta says "anyone, on or off Instagram, can see your websites", desktop visitors included.
Can't find Links? Update the app from the App Store or Google Play. Meta's steps describe the current Edit profile screen, and an old version may not match them.
Adding more links, and why order is the real decision
Repeat the steps to add up to five links. To change their order: Edit profile → Links → Options → Reorder links, then tap and hold a link and drag it up or down. Tap Done.
Order matters more than it looks. Meta lets you "reorder the list of websites people see in your profile" but doesn't say how the profile lays them out. So assume the top slot is the one most visitors see: put the page you most want tapped there, and treat a reshuffle as a decision, not housekeeping.
If you want every destination visible, with labels, images and an order visitors can see, that's the job of a link in bio page: one link in the first slot that opens a page holding everything. InBio is one, and it's free to start. A link page with per-link analytics also tells you which destination earned each tap.
What to point your link at
The bio link is the one permanent exit on the profile. Don't spend it on a homepage; a homepage makes the visitor start navigating from scratch. Point it at the page built for the tap: this week's offer, the booking form, the menu, the new drop.
If it's something to buy, selling a digital product from the bio link walks through the checkout and the fees. If it's a free guide in exchange for an email address, the Instagram lead magnet setup covers the form and the delivery. Or point it at a link page that holds all of them.
Can you put clickable links in Instagram posts? (2026)
Not on an ordinary account: a URL in a caption publishes as plain text. Since 15 September 2026, Meta One subscribers on the Advanced plan ($49.99 a month) and up can add a link to a set number of posts and reels each month. For everyone else, the bio link and the story link sticker are still the free ways to send people off Instagram.
What changed on 15 September 2026 is Meta One, Meta's new subscription, which is absorbing Meta Verified. Meta's announcement lists "links in organic posts and reels" among the Advanced plan's publishing features. Meta's help page: "Eligible public Instagram accounts with a Meta One subscription can add links to their posts and reels. Teens can't use this feature." You don't type the URL into the caption; you tap Add link below it. The allowance depends on the plan.
| Meta One plan | Price | Posts with a link, per month | Reels with a link, per month |
|---|---|---|---|
| Advanced | from $49.99/mo | 4 | 4 |
| Expert | from $149/mo | 8 | 8 |
| Max | from $499/mo | 12 | 12 |
Posts and reels have separate allowances, and unused links don't carry over to the next month. Meta One Essential (from $14.99 a month, where Meta Verified's features now live) doesn't include post or reel links. The announcement says Meta One plans "are now available globally", but Meta's own subscribe page still says Meta One "is currently in limited testing and isn't available everywhere yet", so it may not be offered on your account yet.
For most profiles, $49.99 a month for four linked posts and four linked reels is a marketing budget decision, not a fix. The bio link and the story sticker stay free.
Link not clickable? Move it from the bio text into Links
"I typed the URL in my bio text and it's not clickable." Correct: the bio text field never makes links tappable. Only the Links section (Edit profile → Links) produces a clickable link. Delete the URL from the text and add it there.
"My caption link isn't clickable." Same rule for free accounts: caption URLs publish as plain text. Name the destination in the caption ("menu's in the bio") and send readers to the profile link. On Meta One Advanced and up, use Add link on the post instead of pasting the URL into the caption.
"I can't add links on my laptop." Expected. Meta doesn't offer it on computers; use the app.
"My link won't save." Paste the complete URL, including https://, and update the app. Meta doesn't publish a list of destinations it refuses, so if one specific URL keeps failing, link to a different page you control.
Now that the link is live
Three things, in order. Make the last line of your bio point down at the link with a reason (the Instagram business bio formula shows how). Name the destination in captions so readers know why to tap. And when a story is the moment, put the same URL in a Link sticker; Meta says tapping it sends viewers to the site, and that link stickers "can only be used in organic Instagram Stories". It lasts the 24 hours the story does.
Once the link works, the rest of the Instagram guides cover what it should lead to: a bio that earns the tap, a lead magnet, a checkout.